I can picture myself about four or five years old standing by the canteen with a crumpled-up $40 in my hand, eagerly awaiting my turn so I could purchase one of these delicious bars. “A pack nuttin’, Please” I’d yell to the canteen owner and she’d hand me a caramel brown peanut bar wrapped in plastic. I would try to savour this mouth-watering snack by only eating half and saving the other half in my bag-pack to eat later.

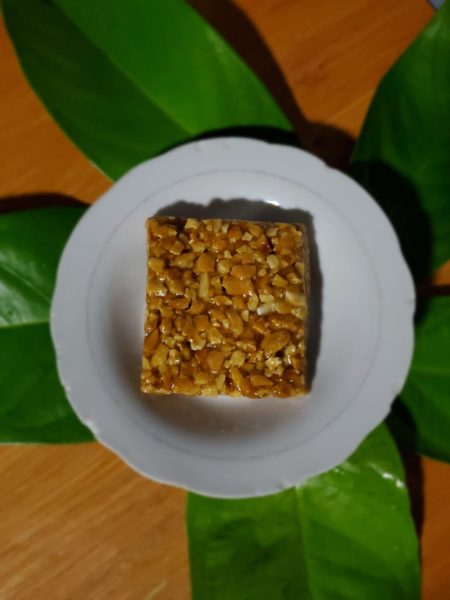
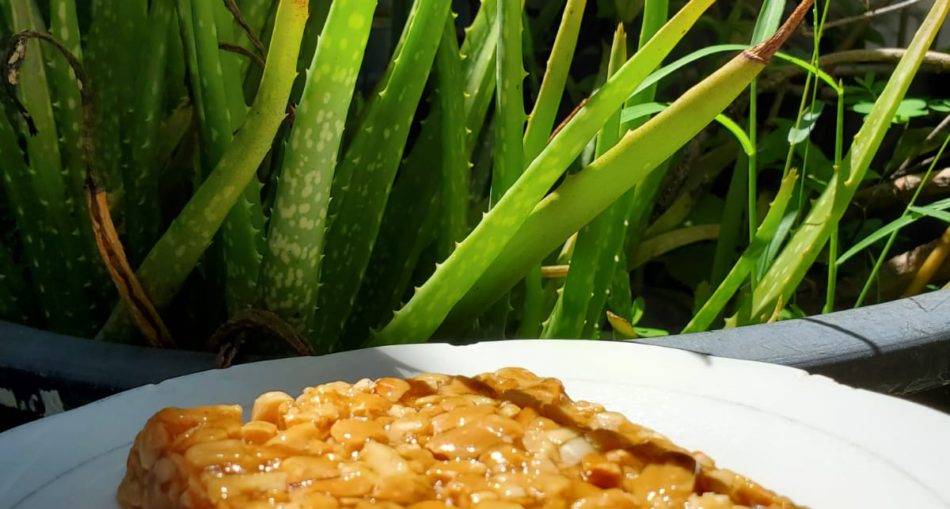
Image of Peanut Chikki. Photo Source: Nirmal Kawall
These peanut bars known as ‘Chikki’ originated in India. They are considered to be a brittle bar snack usually made from nuts and jaggery (a type of sugar that is not refined so it still contains an amount of molasses. It can be found across Southeast Asia and Africa). This simple snack is packed full of flavour and history.
A Brief History of Chikki
Chikki was invented in the 19th Century when India was under the rule of the British. Workers were recruited to construct a railway line from Maharashtra to the hill station in Lonavala. The workers worked tirelessly and the British soon realized that they needed an energy boost to keep them going throughout the day, but this snack needed to be made from ingredients that were readily accessible and affordable. Maganlal Aggarwal, a sweet shop owner decided to come up with a solution and thus the birth of ‘gud dani’ or ‘chikki’ made from three key ingredients: jaggery, peanuts and ghee. The workers loved this peanut bar snack and the British employers did as well since it was quite inexpensive. A sweet victory for everyone!
How to make Chikki
This delectable, peanut brittle snack only takes about 30 minutes to make and contains affordable ingredients.
Ingredients
– 150 grams Peanuts
– 150 grams Sugarcane Jaggery
– 2 tsp Water
– 1 tsp Ghee
– Ghee (for greasing)
Preparation
Step One – Put the 150 grams of peanuts in a pan and roast them over a slow flame. Keep stirring to ensure they do not become burnt.
Step Two – When you notice they are nicely roasted, remove from the pan and place into a bowl and separate the skin from the peanuts and leave in the bowl to cool.
Step Three – Place peanuts on cutting board and crush lightly using a rolling pin
Step Four – Add 150 grams of jaggery into a pan with 2 tsp of water and stir over slow heat. Once it is melted, continue to stir for 4 to 5 minutes.
Step Five – After the jaggery has completely melted you drop a few drops into a bowl of water and if it crystalizes immediately then it is done. If you touch it and it still has a gooey consistency then it is not finished and needs to be melted a bit more.
Step Six – After the jaggery is melted to perfection add 1 tsp of ghee into the mixture and stir. You can also add in your crushed peanuts and stir for 1miute.
Step Seven – Prepare your rolling board by rubbing some ghee on top and on the rolling pin.
Step Eight – Place your chikki mixture onto the rolling board. Place a grease-proof paper on top and roll it out using a brisk, rolling motion.
Step Nine – After you roll out your Chikki, remove the grease-proof paper from the top and cut into rectangular pieces while it is still warm.
Chikki hardens quickly so you have to ensure that you don’t take too long to roll it out and cut into rectangular pieces.
Chikki can last up to 20 days in an air-tight container.
It is a great snack to have anytime of the day and has health benefits which you can learn about here:
References:
- Chikki History – https://www.cntraveller.in/story/maharashtra-lonavala-chikki-recipe-mumbai-history-food-maganlal-chikki/
- Jaggery – https://www.webmd.com/diet/jaggery-is-it-good-for-you#:~:text=Jaggery%2C%20also%20known%20as%20gur,than%20other%20forms%20of%20sugar.
- What is Chikki? – https://en.wikipedia.org/wiki/Chikki
- Recipe – https://www.youtube.com/watch?v=mlDUVR2wA14&t=29s


